Replacing Your NUC Fan
Jan 9, 2020
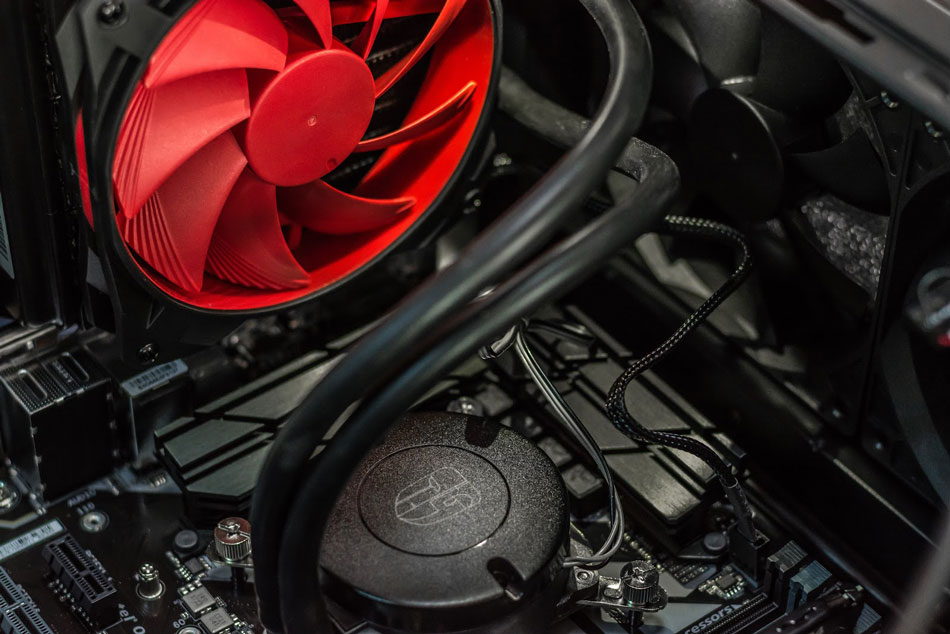
From time to time, you’ll need to do some maintenance on your computer hardware. If it’s something like replacing a computer fan, that (more often than not) can be done yourself. Since fans are one of the few, if not only, moving parts in our NUCs, they are usually the first part that needs to be replaced. It’s a simple process, so here’s how to replace an Intel NUC fan.
Before You Start
Make sure you are working on an electrostatic discharge (ESD) safe workstation and that you are disconnected from the power source. If you are not working on an ESD safe workstation, ESD can cause issues with your parts.
If there is one tip to make your life easier when disassembling and assembling computer parts, it’s to video record the process. This will make it much easier to remember how many screws were unscrewed and what lead needs to be plugged in where.
Steps to Replace a Computer Fan
- Remove the back plate from the chassis by removing the screws.
- Remove the VGA connector from the chassis. If you don’t, it will keep you from easily removing the board later on.
- Disconnect all cables connected to the board. This includes drive cage cables, front panel and microphone leads, and antenna leads from the wifi card.
- Remove motherboard screws that attach the board to the chassis.
- GENTLY pull the board out from the front end. It will come out at an angle with the USB ports coming out last.
- Flip the board over and place it on something soft such as foam or a soft cloth.
- Detach the fan power lead from the board and remove the two mounting screws.
- Remove the fan.
Now that the Intel NUC fan is removed, it can be replaced. Once that is done, all you have to do is reverse the process. This is where your video can come in handy. If you aren’t able to take a video, here are the reverse steps to replace your computer fan.
- Reseat the fan and tighten the screws to the board.
- Reconnect the fan’s power lead to the board.
- To replace the board in the case you need to be sure the board is oriented properly, angle the rear ports of the board into position, and GENTLY press the board into place.
- Replace the board screws to attach the motherboard back to the chassis.
- Replace antenna leads to the wifi card using tweezers to hold them in place. Press down gently until they click
- Reconnect all of the loose leads and cables.
- Reinstall VGA connector to the chassis.
- Reseat the drive cage.
- Replace the back panel by replacing the screws.
Congratulations! You have successfully replaced your computer fan. However, there is one word of caution: if you damage your Intel NUC while replacing your fan, you will void your computer warranty.
If you need more than just a computer fan replaced, we can set you up with customized NUCs for your entire business. Also, with a two-week demo period, you can try before you buy to make sure it’s the perfect solution. Contact us today to talk with our experts about your next NUC computer purchase.